
Now that you’ve installed your exocore this guide will walk you through navigating it in practice. Read a more detailed explanation of the Exocore’s present and future functionality here.
Launch your Exocore
Open the root folder of your Exocore in VS Code to launch your editing interface.
Creating new posts
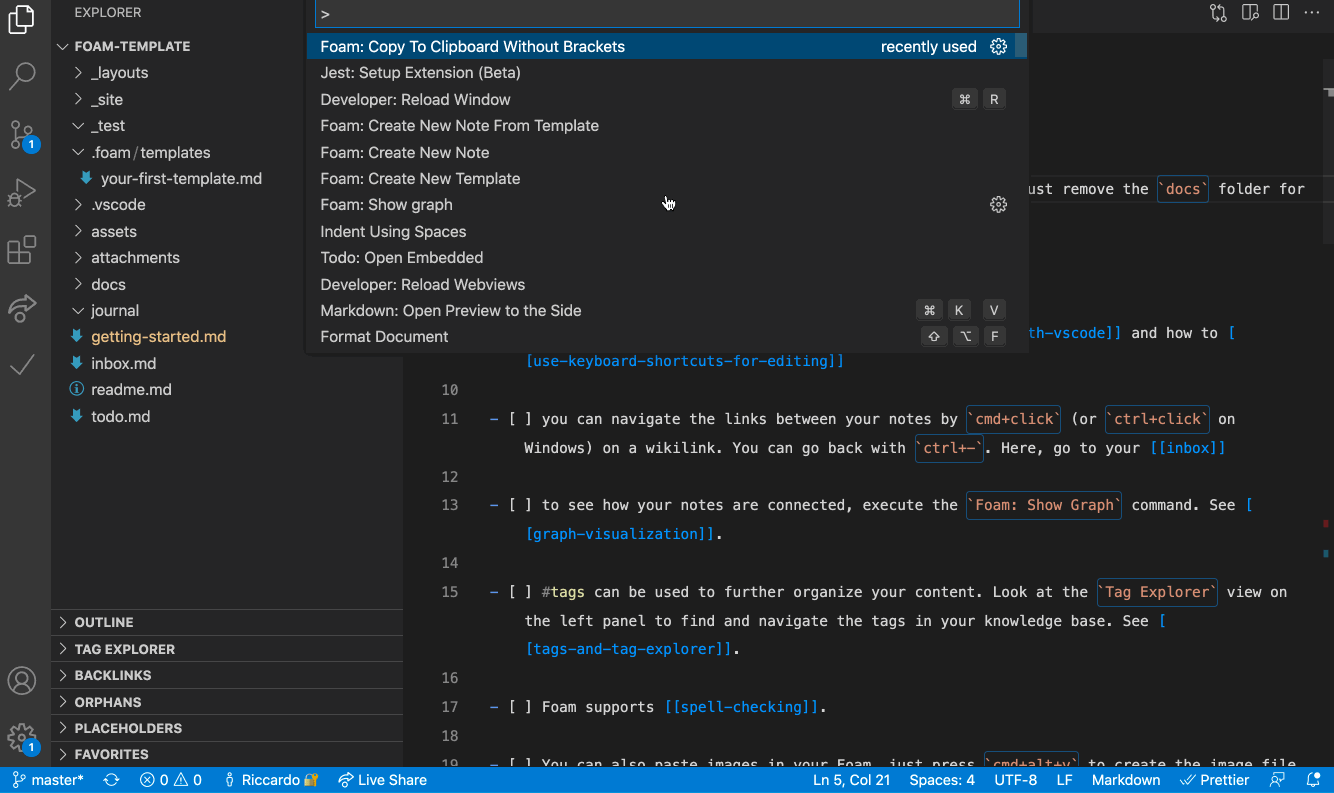
Use keyboard command Ctrl + Shift + P to summon the command panel. From here you can access a variety of functions by beginning to type their names. Start typing ‘create new note from template’ to find the options for creating new posts.
- Daily Notes are designed as a quick access scratch pad, and are perfect for low-specificity research dumps and fleeting notes that will inform your notes in future. These are automatically titled by date. One is created each day automatically, and opened when you open VSCode.
- Wiki Notes are designed for single atomic data points, and are automatically titled with a hexadecimal color code. This code is turned into a correspondingly colored badge in the index of the published site.
- Journal Entries are for your thoughts, and are not automatically titled.
- Articles are for longer write-ups on a particular topic.
You may have noticed that these notes together create a pipeline for systematising knowledge over time from the general to the particular, and for capturing a bank of scattered reference material and developing it into a polished final product. You might choose to cite a research dump in the subsequent post that it turned into as a bibliography/further reading section, such as appears at the bottom of this wiki note
Using Metadata
If you followed the above instructions to create a new post, you will notice that it spawned with a YAML metadata section at the top.
This metadata does not appear in the text of the post, but affects how the post will be treated when your Exocore is rendered into a website. The metadata of the post you are currently reading looks like this:
---
layout: article
category: article
subtitle:
topic: meta
date: 2022-04-13
tags: meta computers exocore
---
If you’re using a browser to read this, you won’t see this information at the top of the post, but the Exocore has incorporated it already into the way it treats the post. It has dated the post, sorted it into the ‘Articles’ section of the site, and given it tags which appear in the left sidebar. You can add to the topic and tags sections, backdate your post, or add a subtitle if you wish.
Split Windows
Ctrl+\ (OSX: Cmd+) can be used to create a new window split. Ctrl+W (OSX: CMD+W) can be used to close them.
Graph Visualization
See how your notes are connected via a graph with the Foam: Show Graph command. Notes can be clicked through to navigate your exocore this way.
Preview Notes
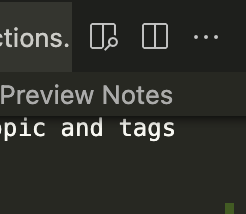
Your notes can be previewed in rendered markdown by clicking the magnifying glass icon on the top right of the window. You can navigate between linked notes from within this previewed window.
Markdown Syntax
Continue on to Writing with Exocore Syntax to learn the Markdown syntax standards it follows, as well as its extensions for hyperlinks, embedded code, footnotes and more.